
Glazed Ham: The Ultimate Beginner’s Guide to Making a Perfect Holiday Ham
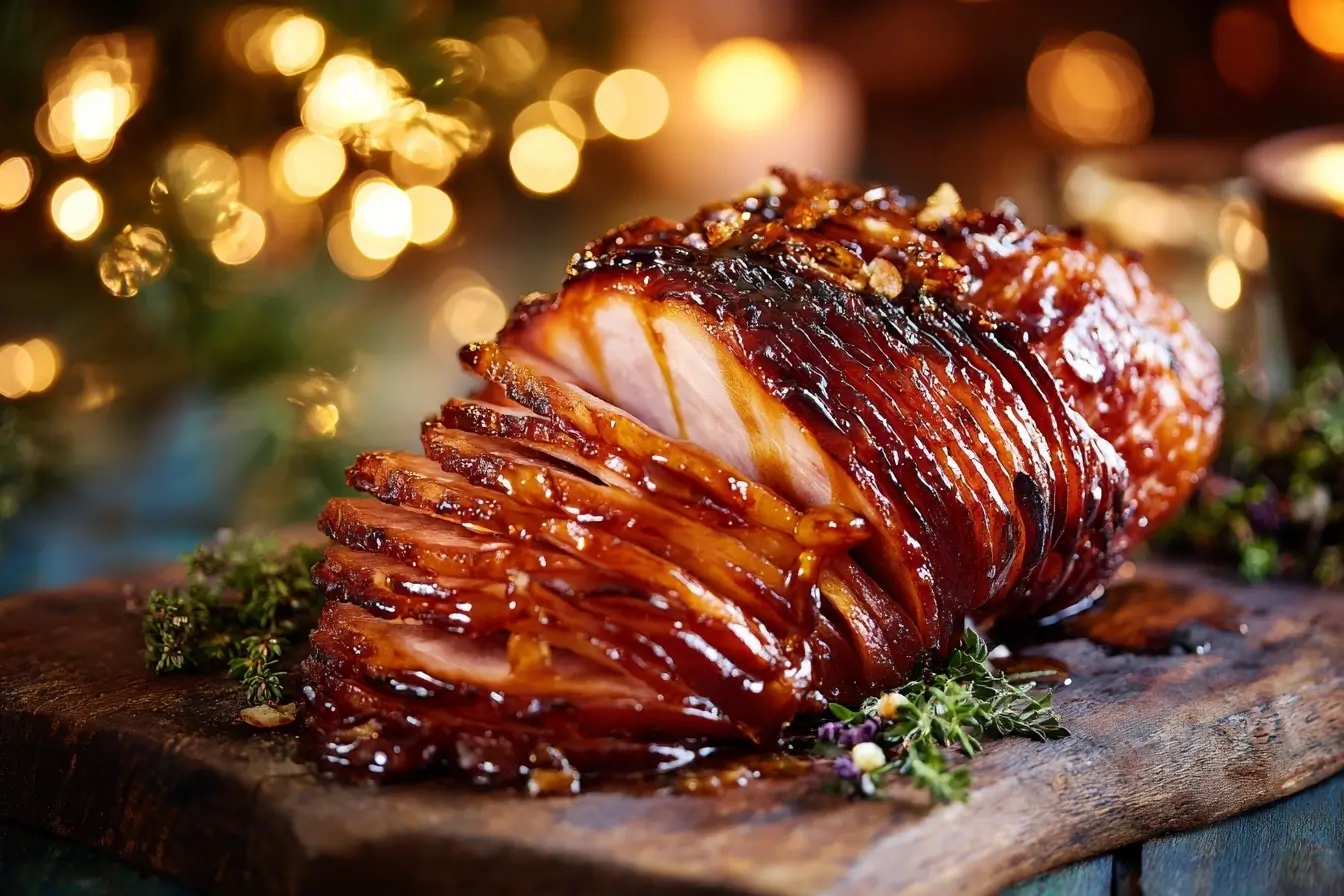
A beautifully cooked glazed ham is one of the most iconic centerpieces for Christmas, Easter, and holiday gatherings. Its golden, caramelized exterior, tender meat, and sweet-savory flavor make it a favorite for home cooks across the United States. The best part? Preparing a delicious baked ham with glaze is far easier than many beginners think. With a few simple steps and the right glaze recipe, anyone can achieve a juicy, flavorful, oven-baked ham that looks worthy of a holiday feast.
This complete guide is designed for beginners and home cooks who want a foolproof method to prepare a glazed ham—whether you’re hosting your first Christmas dinner, bringing a dish to a potluck, or simply learning how to cook ham for the first time. We’ll break down everything: how to choose the right ham, how long to bake ham, how to make the glaze, how to score the ham, and how to prevent dryness.
What Is a Glazed Ham?
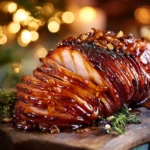
A glazed ham is a cooked ham—often spiral-cut or bone-in—that is coated with a sweet, sticky glaze made from ingredients like brown sugar, honey, maple syrup, mustard, or fruit preserves. The glaze caramelizes during baking, forming a shiny, flavorful crust that enhances the natural saltiness of the ham.
This dish is commonly served for:
- Christmas dinner
- Easter brunch
- Thanksgiving alternatives
- Family gatherings
- Sunday meals
Because ham is typically cured and pre-cooked, beginners love it: you mostly reheat and glaze, not cook from scratch.
Choosing the Right Ham for Beginners
Types of Ham
Before you start your glazed ham recipe, it’s important to know what type of ham to buy. The flavor, texture, and cooking time depend on the style you choose.
1. Bone-In Ham
- Richest flavor
- Moist and tender
- Great for roasting and glazing
- Bone can be used later for soups
2. Spiral-Cut Ham
- Pre-sliced for convenience
- Easy for beginners
- Glaze penetrates between slices
- Slightly more prone to drying, so glaze generously
3. Boneless Ham
- Easy to carve
- Uniform shape
- Mild flavor compared to bone-in
How Much Ham Do You Need?
A common question for home cooks is how much ham to buy for a holiday meal.
Use this simple guide:
- Bone-in ham: ¾–1 lb per person
- Boneless ham: ½ lb per person
- Large gatherings: add extra for leftovers
Preparing Your Glazed Ham
Should You Score the Ham?
Scoring means lightly cutting the surface in a diamond pattern.
This helps:
- The glaze penetrate deeper
- Create a beautiful presentation
- Enhance caramelization
How to Score the Ham
- Use a sharp knife
- Make diagonal cuts, about ½ inch deep
- Rotate and repeat to form diamond shapes
- Optional: insert whole cloves at each intersection for aroma
Do You Need to Preheat the Oven?
Yes. For best results, preheat to 325°F (160°C).
This ensures even heating and prevents the ham from drying out.
The Best Glazed Ham Recipe for Beginners
Below you will find a complete, step-by-step recipe designed specifically for home cooks who want perfect results without complexity.
Ingredients for Glazed Ham
For the Ham
- 1 spiral-cut or bone-in ham (8–10 lbs)
- 1 cup water or apple juice (for the roasting pan)
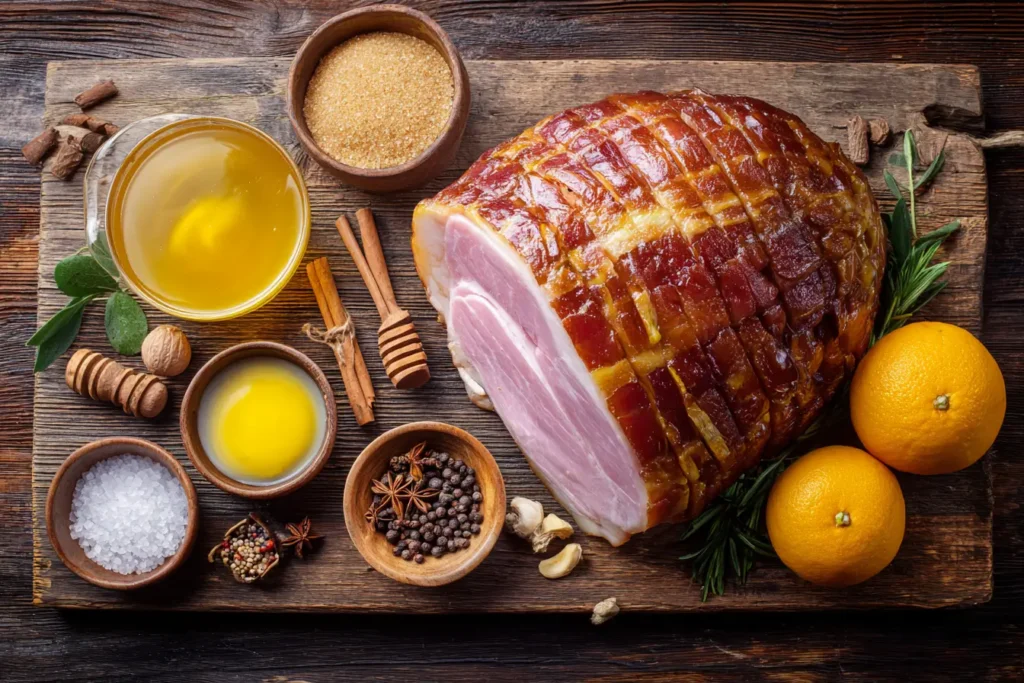
For the Classic Brown Sugar Glaze
This glaze is sweet, sticky, and beginner-friendly.
- 1 cup brown sugar
- ½ cup honey OR maple syrup
- 2 tablespoons Dijon mustard
- 2 tablespoons melted butter
- 1 teaspoon ground cinnamon
- ½ teaspoon ground cloves
- Optional: 2 tablespoons orange juice for brightness
Step-by-Step Instructions – How to Make a Glazed Ham
1. Preheat the Oven
Set your oven to 325°F (160°C) and place the rack in the lower third position.
2. Prepare the Ham
- Remove packaging and discard the plastic disk (if present).
- Place the ham in a roasting pan, flat-side down.
- Add 1 cup of water or apple juice to the bottom to keep the ham moist.
- Cover loosely with aluminum foil.
3. Warm the Ham
Most store-bought hams are fully cooked.
You simply warm it for 12–15 minutes per pound.
Example:
A 10-lb ham = 2 to 2 ½ hours.
4. Make the Glaze
In a small saucepan over medium heat:
- Combine brown sugar, honey (or maple syrup), mustard, butter, cinnamon, and cloves.
- Stir until smooth and slightly thickened.
- Taste and adjust sweetness or spice as desired.
A good glaze should be:
- Sweet
- Slightly tangy
- Thick enough to coat a spoon
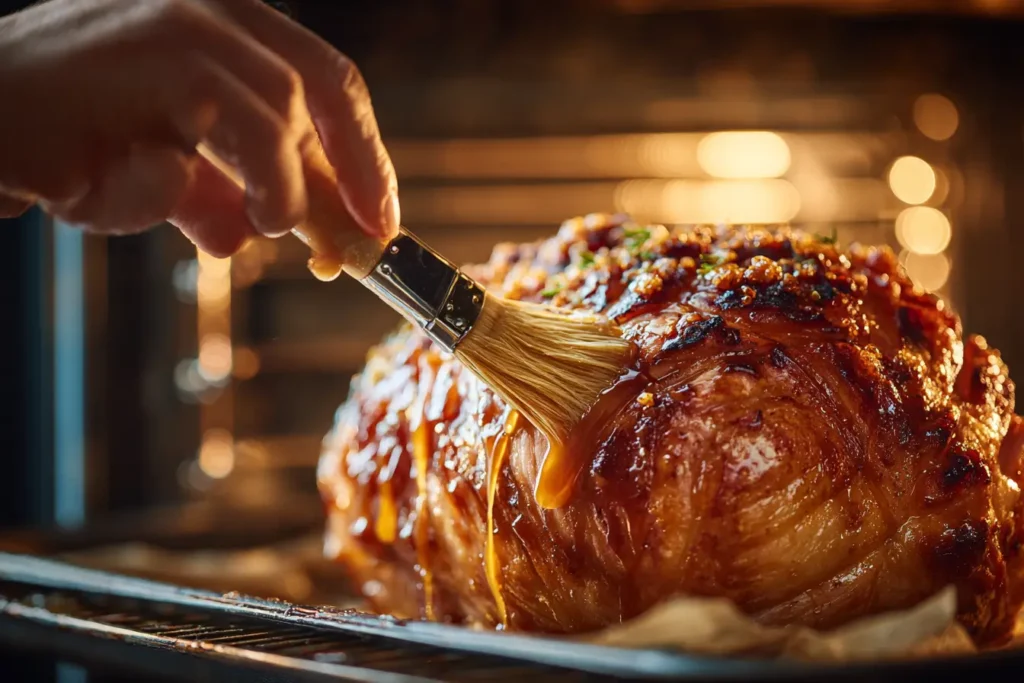
5. Start Glazing the Ham
About 30 minutes before the ham finishes cooking:
- Remove foil
- Brush the ham generously with glaze
- Return to oven uncovered
This step allows glazing without burning.
6. Repeat Glazing
Brush additional glaze every 10 minutes.
This creates a caramelized, glossy crust that is the hallmark of a perfect glazed ham.
7. Finish Under the Broiler (Optional)
If you want a deeper golden crust:
- Broil for 2–3 minutes
- Watch carefully to avoid burning
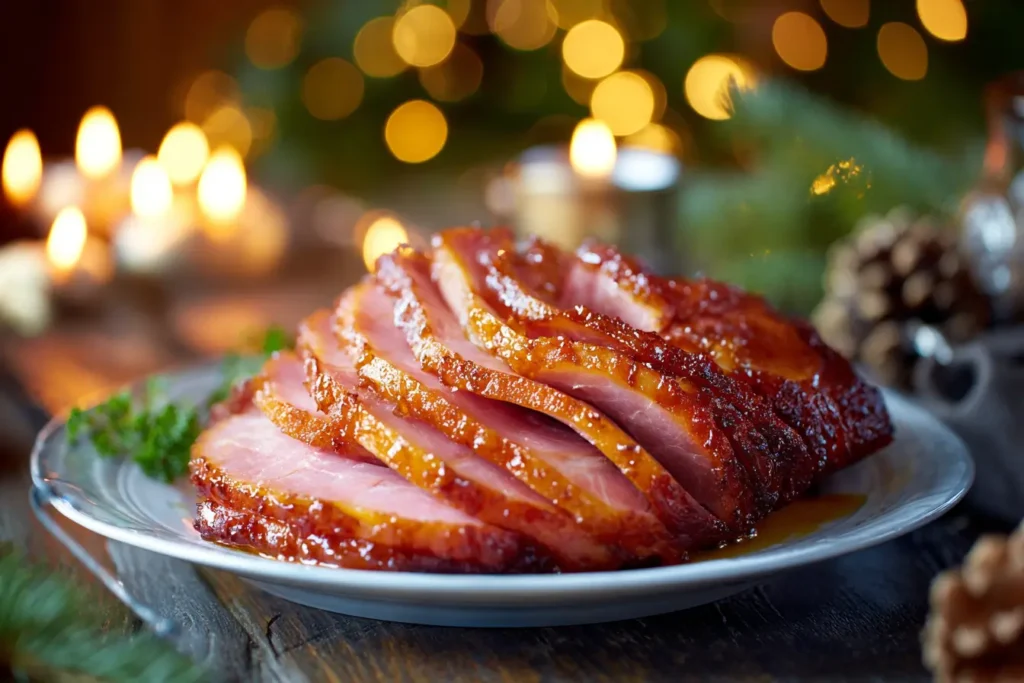
8. Rest the Ham Before Carving
Resting helps redistribute juices.
Let it sit for 15–20 minutes before slicing.
How to Carve Glazed Ham (Beginner Friendly)
For Spiral-Cut Ham
Easy:
- Start pulling slices gently away from the bone
- Cut along the bone to release remaining pieces
For Bone-In Ham
- Place the ham upright
- Cut downward along the bone
- Slice crosswise for even pieces
Tips for Preventing Dryness
Beginners often fear dry ham. Here’s how to avoid it:
1. Don’t overcook
Follow the 12–15 minutes per pound rule.
2. Keep it covered initially
Foil prevents moisture loss.
3. Add liquid to the roasting pan
Water, apple juice, pineapple juice—all help keep the ham tender.
4. Glaze toward the end
Applying glaze too early can burn.
5. Let it rest
Resting allows juices to redistribute.
Variations of Glazed Ham
1. Honey Mustard Glazed Ham
A tangy, sweet classic.
Ingredients:
- Honey
- Yellow mustard
- Apple cider vinegar
- Garlic powder
2. Maple Brown Sugar Ham
Perfect for those who love rich, comforting flavors.
Ingredients:
- Maple syrup
- Brown sugar
- Cinnamon
- Nutmeg
3. Pineapple Glazed Ham
A retro favorite with fruity brightness.
Ingredients:
- Pineapple juice
- Brown sugar
- Maraschino cherries
- Cloves
4. Bourbon Glazed Ham
For a deep, smoky caramelized taste.
Ingredients:
- Bourbon
- Brown sugar
- Dijon mustard
5. Orange Marmalade Ham
Citrusy, glossy, beautiful.
Ingredients:
- Orange marmalade
- Honey
- Ginger
What to Serve With Glazed Ham
Here are the most popular American side dishes:
Classic Sides
- Mashed potatoes
- Roasted vegetables
- Green bean casserole
- Scalloped potatoes
- Dinner rolls
- Mac and cheese
Fruit-Based Sides
- Pineapple slices
- Apple chutney
- Cranberry sauce
Fresh Sides
- Caesar salad
- Spinach salad
- Coleslaw
Leftover Glazed Ham Ideas
A large ham means leftovers—great for meal prep!
1. Ham and Cheese Sandwiches
Perfect for lunchboxes.
2. Ham and Potato Soup
Use the ham bone for incredible flavor.
3. Breakfast Omelets
Chopped ham + eggs = easy weekday breakfast.
4. Ham Fried Rice
Great for using leftover vegetables.
5. Ham Pasta Bake
Creamy, cheesy, comforting.
Common Mistakes Beginners Should Avoid (Fully Detailed)
Préparer un glazed ham semble simple, mais plusieurs erreurs courantes peuvent empêcher les débutants d’obtenir une texture juteuse et un glaçage parfaitement caramélisé. Voici les erreurs les plus fréquentes et comment les éviter pour réussir ton jambon glacé comme un chef.
Mistake 1: Applying All the Glaze Too Early
Why It’s a Problem
Beaucoup de débutants pensent qu’il faut recouvrir le jambon de glaçage dès le début de la cuisson.
Erreur : le sucre brûle rapidement à haute température.
Résultat :
- Un glaçage noirci
- Un goût amer
- Une texture collante brûlée au lieu d’un beau caramel doré
How to Avoid It
- Couvre le ham de papier aluminium pendant les 75 % du temps de cuisson.
- Applique le glaçage uniquement dans les 30 dernières minutes.
- Rebadigeonne toutes les 10 minutes pour obtenir une couche brillante.
Mistake 2: Cooking the Ham at Too High a Temperature
Why It’s a Problem
Cuire un jambon trop chaud est l’une des plus grandes erreurs :
- Cela fait évaporer l’humidité.
- La viande devient sèche.
- Le glaçage brûle au lieu de caraméliser.
How to Avoid It
- Toujours cuire à 325°F (160°C).
- Utiliser la règle : 12–15 minutes par livre.
- Vérifier la température interne : 140°F pour les jambons précuits.
Mistake 3: Not Adding Liquid to the Roasting Pan
Why It’s a Problem
Un ham cuit à sec dans un plat vide perd rapidement son humidité.
Sans liquide :
- La vapeur ne se forme pas.
- La viande chauffe trop vite.
- Le ham devient dur, surtout sur les bords.
How to Avoid It
- Ajouter 1 tasse d’eau, jus de pomme ou jus d’ananas au fond du plat.
- Cela crée un environnement humide qui garde le jambon tendre.
- Tu peux réutiliser ce jus pour arroser le jambon pendant la cuisson.
Mistake 4: Skipping the Scoring Step
Why It’s a Problem
Ne pas quadriller la surface du ham empêche le glaçage de pénétrer la viande.
Résultats :
- Le glaçage glisse et ne tient pas.
- Le ham reste fade en surface.
- L’apparence est moins belle et moins professionnelle.
How to Avoid It
- Faire des entailles de ½ pouce en forme de losange.
- Option : insérer des clous de girofle pour plus d’arôme.
- Le glaçage va alors s’accrocher dans les creux et caraméliser parfaitement.
Mistake 5: Not Covering the Ham During the Initial Cooking
Why It’s a Problem
Cuire le jambon entièrement sans le couvrir = sécheresse garantie.
L’air chaud attaque directement la surface, ce qui la déshydrate.
How to Avoid It
- Recouvrir le ham avec du papier aluminium pendant toute la première phase.
- Retirer l’aluminium seulement au moment du glaçage.
- Cela permet au ham de rester juteux.
Mistake 6: Forgetting to Let the Ham Rest
Why It’s a Problem
Si tu coupes le jambon juste après la cuisson :
- Le jus s’échappe.
- La viande devient sèche en quelques minutes.
- Les tranches perdent leur moelleux.
How to Avoid It
- Laisser reposer 15 à 20 minutes avant de trancher.
- Couvrir légèrement avec du papier aluminium.
- Ce repos permet au jus de se redistribuer dans la viande.
Mistake 7: Using Too Little Glaze
Why It’s a Problem
Un ham mal glacé manque de goût et n’a pas le bel effet brillant recherché.
Les débutants hésitent souvent à mettre suffisamment de glaze.
How to Avoid It
- Appliquer une généreuse couche de glaçage toutes les 10 minutes pendant la dernière demi-heure.
- Ne pas hésiter à badigeonner entre les tranches pour un spiral ham.
- Plus de couches = meilleur caramel.
Mistake 8: Not Checking the Internal Temperature
Why It’s a Problem
Même un ham précuit peut se dessécher ou être mal chauffé si on ne contrôle pas sa température.
How to Avoid It
- Utiliser un thermomètre de cuisine.
- Température idéale : 140°F pour un ham précuit.
- À partir de 145°F, la viande commence à se dessécher.
Mistake 9: Choosing the Wrong Type of Ham
Why It’s a Problem
Tous les jambons ne réagissent pas pareil à la cuisson et au glaçage.
Exemples d’erreurs :
- Choisir un ham trop salé → le glaçage devient trop sucré-salé.
- Choisir un ham non précuit → le temps double.
- Choisir un ham sans os pour une cuisson longue → risque de sécheresse.
How to Avoid It
Pour les débutants :
- Prendre un spiral ham précuit ou un bone-in ham.
- Éviter les versions trop fines ou trop petites qui chauffent trop vite.
Mistake 10: Using a Watery Glaze
Why It’s a Problem
Un glaçage trop liquide glisse et ne caramélise pas.
Résultat : pas de croûte brillante, pas de goût intense.
How to Avoid It
- Laisser réduire le glaze dans une casserole quelques minutes.
- Chercher une texture épaisse, sirupeuse.
- Le glaze doit napper la cuillère avant d’être appliqué.
Mistake 11: Not Reheating Leftovers Properly
Why It’s a Problem
Les restes de ham deviennent rapidement secs si on les chauffe trop vite.
How to Avoid It
Chauffer à 300°F pour préserver la tendreté.
Ajouter un filet d’eau ou de jus avant de réchauffer.
Couvrir avec un couvercle ou du papier aluminium.
Frequently Asked Questions About Glazed Ham
Is ham already cooked when I buy it?
Most hams sold in the U.S. are fully cooked and only require reheating.
Can I glaze a precooked spiral ham?
Yes—spiral hams are perfect for glazing.
How long does glazed ham last?
Refrigerator: 3–4 days
Freezer: up to 2 months (airtight container)
Can I glaze a frozen ham?
Defrost first for best results. Cooking from frozen takes too long.
What internal temperature should ham reach?
140°F for a pre-cooked ham.
Can I use maple syrup instead of honey?
Absolutely. Maple syrup creates a beautiful caramelized finish.
Conclusion
Cooking a glazed ham at home doesn’t have to be intimidating. With the right ingredients, a simple glaze, and clear step-by-step instructions, even total beginners can prepare a delicious, tender, and beautifully caramelized holiday ham. Whether you’re cooking for Christmas, Easter, or a family gathering, this guide gives you everything you need to create a dish that’s both comforting and impressive.
PrintGlazed Ham – Jambon glacé caramélisé
Un jambon rôti parfaitement caramélisé avec un glaçage à la cassonade, idéal pour les fêtes comme Noël, Thanksgiving ou Pâques.
- Prep Time: 10 minutes
- Cook Time: 2 h 15 à 2 h 45
- Total Time: Environ 3 heures
- Yield: 10 à 12 personnes
- Category: Plat principal – Recette festive
- Method: Rôti au four
- Cuisine: Cuisine festive
- Diet: Low Calorie
Ingredients
- 1 jambon précuit spiral ou bone-in (8–10 lb / 3,5–4,5 kg)
- 1 tasse (240 ml) d’eau, jus de pomme ou jus d’ananas
- 1 tasse (200 g) de cassonade
- ½ tasse (120 ml) de miel OU de sirop d’érable
- 2 cuillères à soupe de moutarde de Dijon
- 2 cuillères à soupe de beurre fondu
- 1 cuillère à café de cannelle
- ½ cuillère à café de clou de girofle moulu
- Facultatif : 2 cuillères à soupe de jus d’orange
Instructions
- Préchauffer le four à 325°F (160°C).
- Placer le jambon dans un plat à rôtir, côté plat vers le bas. Ajouter 1 tasse de liquide au fond du plat. Couvrir de papier aluminium.
- Cuire 12 à 15 minutes par livre (environ 2 h 15 pour un jambon de 9 lb).
- Pendant ce temps, préparer le glaçage en chauffant la cassonade, le miel (ou sirop), la moutarde, le beurre, la cannelle, et les clous de girofle. Laisser épaissir 2–3 minutes.
- 30 minutes avant la fin, retirer l’aluminium et badigeonner généreusement le jambon. Répéter toutes les 10 minutes.
- Pour une croûte dorée, passer sous le gril 2–3 minutes. Surveiller de près.
- Laisser reposer 15–20 minutes avant de découper. Servir chaud.
Notes
Ajoutez toujours un liquide de fond pour éviter la sécheresse. Utilisez un thermomètre pour viser 140°F (60°C) à cœur. Ne mettez pas tout le glaçage dès le début pour éviter de brûler.